BEEginning Again Part 2

The last time I wrote about re-starting my bee venture, I told you I had lost two hives late last year to Small Hive Beetles. This year I bought two packets, and they have been delivered, but first I want to talk about my clean-up for Hive Beetles.

Overall it is pretty simple. You want to kill the beetles and the larva, and you want to clean out any slime or residue from the infestation. As my friend Tammie George at Crooked Hill Bee Keeping says it, “Bees are better housekeepers than we are.” Mainly you just need to get the ugly stuff left by the beetles out, and let the bees do the rest.

Killing the beetles and making certain they are gone is another matter. Small Hive Beetles can live as long as six months. So I did some exploring and asked some questions of bee friends and got the same idea. Freeze the hive boxes, the frames and the foundations. I left each hive box in the freezer for a month.

IMG_2024

This is what we were working with, I had frozen the hive boxes and set them aside until this day.

Then comes the cleaning. I used a wire brush and two different scrapers to get the majority of all the old comb, and beetle residue, off the hive boxes and the frames. After that, I washed them in hot vinegar water. There are some who use bleach water, but I am leery of non-organic solutions.

IMG_2025

As I said, it is a mess.

IMG_2023

This view is of a brood frame where the Queen laid eggs. This is what the beetles attack. Honey frames are easily cleaned out and they are clean and yellow. Brood is darker comb and it does not want to come off. Add in the smell of the beetles and it is not pretty.

After I finished I let them dry outside in the sun. I was very happy to see some of the girls (not my bees; they were not here yet), hanging around the old frames, pulling off comb and digging out pollen I had missed.

IMG_2021

It is a sticky job, but someone has to do it.

A word about prevention before I close. My mistake was not thinking the beetles would get to me because I interrupted their life cycle. There was no dirt under my hives for the larva to get into because the hives were sat on concrete. I did not take elementary precautions such as simple cheap beetle traps. Now both of my hives have beetle traps in them, and the ground and concrete around the table where my hives sit is salted with diatomaceous earth.  The tuition at the College of Hard Knocks is expensive to our pocket books, our egos and several thousand bees who I let down. I will make more mistakes but not that one ever again.

The following chart came from my first link at the top of this post which links to an article from the University of Arkansas extension service. I would suggest you look at he whole article, it is very informative.

SHB_life_cycle_JZ_UAEX_2011_600px_0

Being me, I let some of it wait longer than I should. However, I got it done in time to move the girls and the Big Girl into their new homes. In the next post I will introduce you.

Endangered Skill #2: Black Smith

I don’t know about you, but when I think about a blacksmith, I see a sweat soaked, soot covered man wielding a hammer. I think of him as someone from the past, as most of us probably do.  My research brought some nice surprises. Blacksmithing is alive and well! The knowledge is still out there, if you want to get it.

So, what exactly is a blacksmith?

According to the American Heritage dictionary, a blacksmith is:

1. One that forges and shapes iron with an anvil and hammer.
2. One that makes, repairs, and fits horseshoes.

Foxfire 5 has an entire section on Iron Making and Black Smithing. It includes drawings and pictures of furnaces, as well as explanations of the difference between wrought iron, pig iron, and steel. Of course, in true Foxfire style, there are the interviews with “old timers” who have inside information on the relevant subject.

“A blacksmith forges objects of metal typically wrought iron or steel. To forge metal is to shape it, by heating then hammering, or pressing it into the desired form.” Foxfire 5, pg 112

“At that time the blacksmith played a vital role in his community and was generally accorded his respect. There is hardly a facet of life his work did not touch upon; indeed without his skills , the prevailing life-style would have been extremely primitive. Most of the items a blacksmith made and repaired were either tools or other work related items, such as harness fittings and ox yokes. In a culture where everyone, even children had to work just to get by, it’s not hard to understand how important the blacksmith was.” Foxfire 5, pg 108.

The book goes into great detail about what a blacksmith does, the tools he uses, and the importance of proper care of tools and equipment.

“On the subject of tools, Leo Tippett said, ‘My father took good care of his tools. He never threw them down in the dirt, or on a rock. They’s scarce. My daddy’d give me a going over if I throwed a tool down in the dirt or rock. And I’m glad he did. You have to respect tools. Good sharp tools are the name of the game’” Foxfire 5, pg. 112

That comment, in itself, says a lot about how attitudes have changed.

Don’t know about Foxfire books? Ed wrote about them here.  It took us awhile, but we finally got the full set.

The blacksmith was important to a community because he made much needed tools and equipment. Today, much of what he did is manufactured in factories and shipped to stores where we buy it. One video I watched said the local smithy has been replaced by Lowe’s and Home Depot.

A partial list of things the blacksmith made is also listed in Foxfire five on pages129-131. Included are the things we normally think of, like horseshoes and axes, but we also find knitting needles, shoe buttons, nails and screws.

According to Simon Grant Jones, the passing of the time when horses were commonly used for work and travel spelled the end of the “traditional country smithy”. Simon is a practicing blacksmith, so take some time to explore his site. Another interesting historical fact he mentions is that often, at the end of the day, embers from the smithy were taken to the bread ovens to bake bread. Talk about members of a community working together!

Once again, I went to YouTube to see what I could find about Blacksmithing. I found a lot! The best one though, was this treasure.  Love that he had kids learning in the shop, not to mention the techie.

If you decide to try and learn yourself, let us know how it goes.

Connie

Good Fences Make Good Doggies

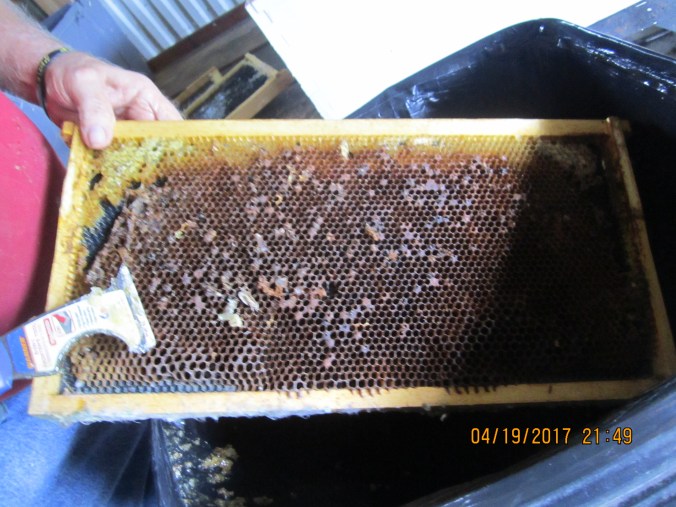
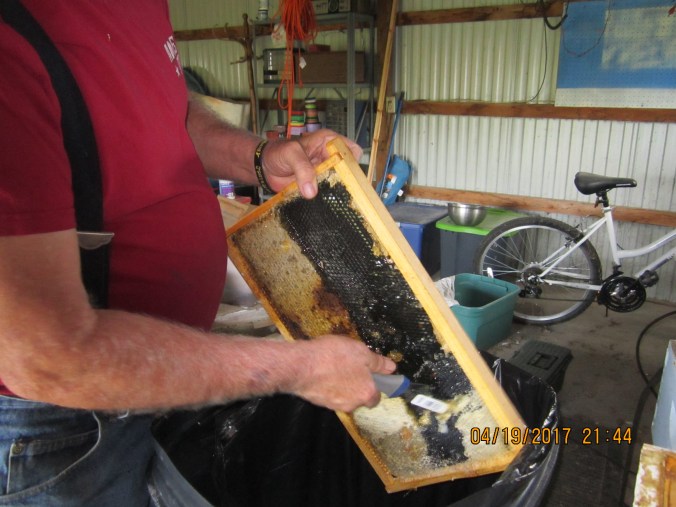
The bees will be here on 21 April, so there will be another post concerning cleaning and setting up my hives shortly. However, another matter has taken precedent and I had to attend to it before I ended up pulling what little hair I still have out. (See the post Don’t Fence Me In).

One of the things I try to do in this blog, is save you the time, money, aggravation and extra work I put in to my ventures, before I succeed. As long as I fall on my face in the direction of the finish line, I do not consider it a failure; just another payment on the tuition at the University of Hard Knocks.

img_1845

This is what playing catch up with a digging dog looks like.

Let’s talk about dog pens for a second. Two years, ago I built one. It seemed simple enough. Just fence in a piece of land, put the big ugly dog house in it, and insert the big ugly dogs. No problem right? Yeah…. sure you’re right.

The first question is, how much is enough land for a dog? I really cannot say. I have sicced Google on the problem, but have not found a satisfactory answer. First time out of the gate, I enclosed about 100 by 80 feet. Yes, that is 8000 square feet. Yes, I am a fool, thank you for noticing.

Shortly I realized that the north fence; the oldest line of fence I incorporated into my new lot, was totally inadequate. For a number of months, I tried to patch it with little success. I used electricity but that too, was inadequate.

Finally, I decided to back off approximately 60 feet, and put a whole new fence on the north side. Now we are down to about 4000 square feet. A little more reasonable. BUT, and there is always a but, Libby, the non-climber, took a special interest in that new 100 linear feet of fence. After the recent winter, the ground was particularly soft. Libby had a field day and once Meeko figured out what she was doing, the gimpy former climber became a pretty fair tunneler.

IMG_1440

Sixty feet less and a brand new fence.


IMG_1432

The first shots in the war for the North Fence

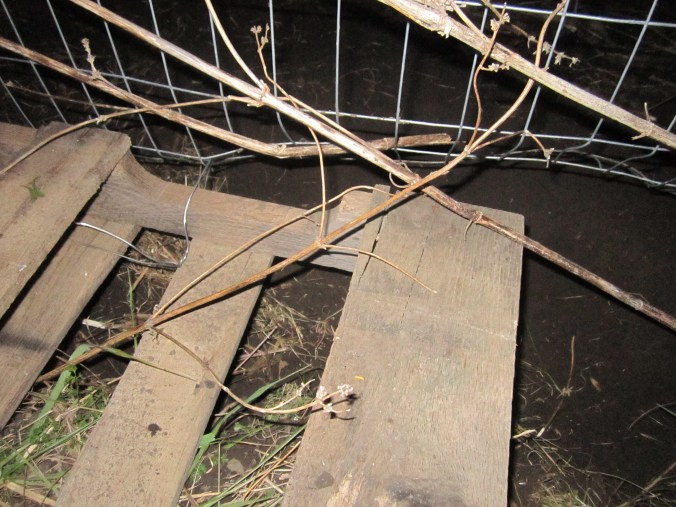
We were off to the races, but when you are patching as they go, you are always behind the power curve. My next attempt was to place pallets around the bottom of the fence; wired in, and nailed together where appropriate. Understand, I am still playing catch-up. While the tunneling duo have a preference for one linear 100 feet of fence along the north side, they have branched out, and it is impossible to predict where they will strike next.
What is wrong with my pallet answer? To start with, the dogs quickly out paced the local Co Op’s ability to supply me with pallets. Second, we are looking at 280 or so linear feet of fence. The average pallet is 44 inches long. That means I will need in the neighborhood of 70 more pallets. That would be a cost of $245.00. Shotgun shells are much cheaper.

img_1901

The first attempt at the pallet answer, for what it cost to do this all the way around I could have bought a better dog.

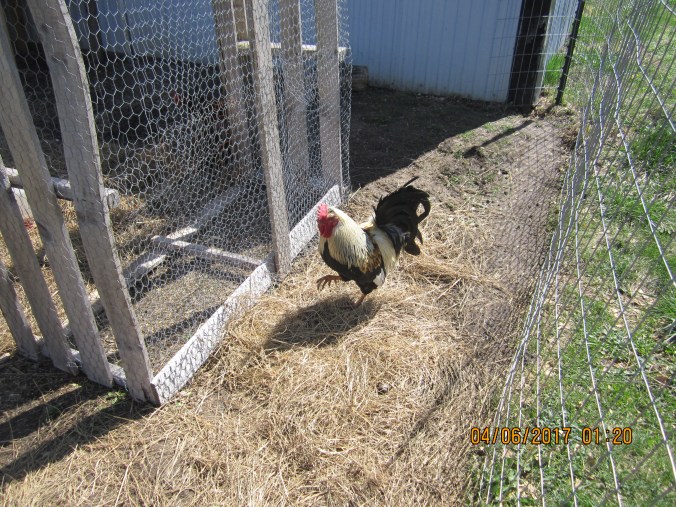
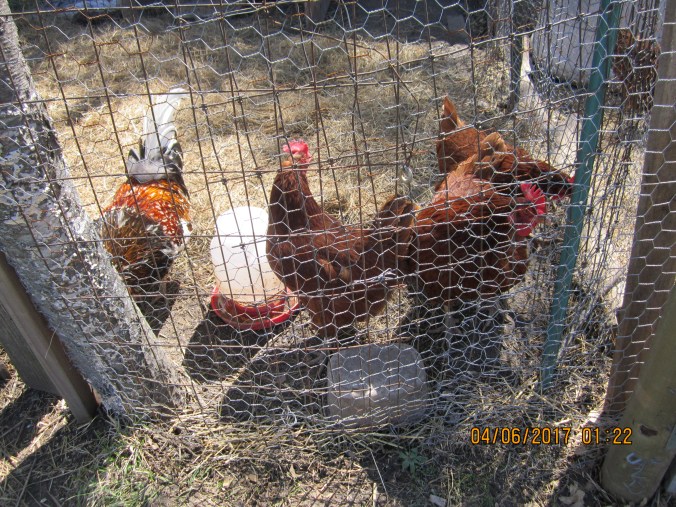
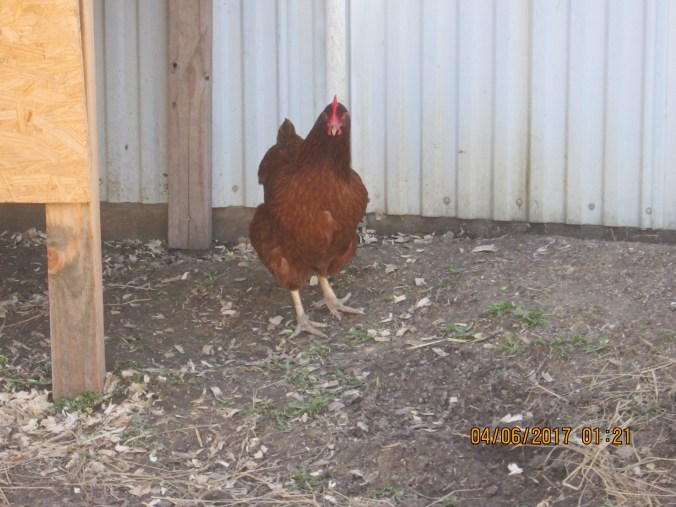
Then Meeko got out, killed a chicken, and wounded another. Enough. But what to do? I was really considering Turkey Shot. In desperation, we tied the dogs out by the barn and let them sleep in a concrete floored feed room. It was a really bad answer, but only lasted about two weeks.

IMG_1971

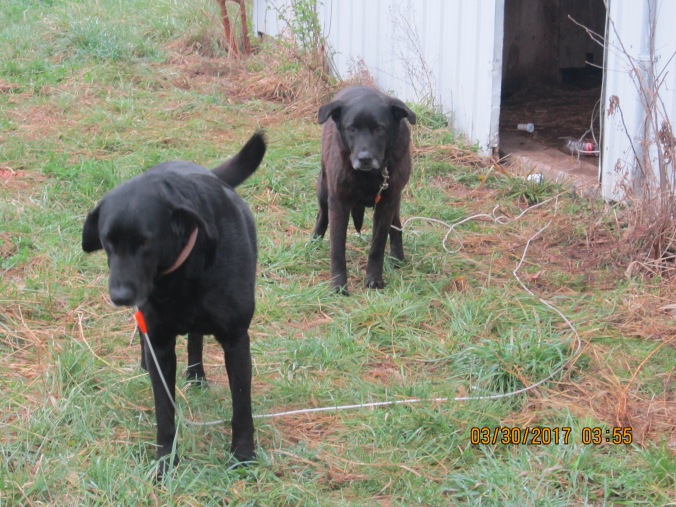
Tied out dogs them and I both hate it.

Then my lovely wife intervened. She took me out to the dog lot one day, and pointed out one obvious change. Change made: the dog lot is now 40 X 50 feet for two dogs. That would be 2000 square feet. Three or four people have been living in less square footage in our house.

What did this do for my fencing project? First, it reduced the linear footage of the fence by another hundred feet; now it was 180 linear feet. A hard and fast rule is that every foot you can reduce that fence, is one foot they cannot dig out of. Second, it gave me a vast amount of fencing and posts to work with when I reset the fence.

IMG_2005

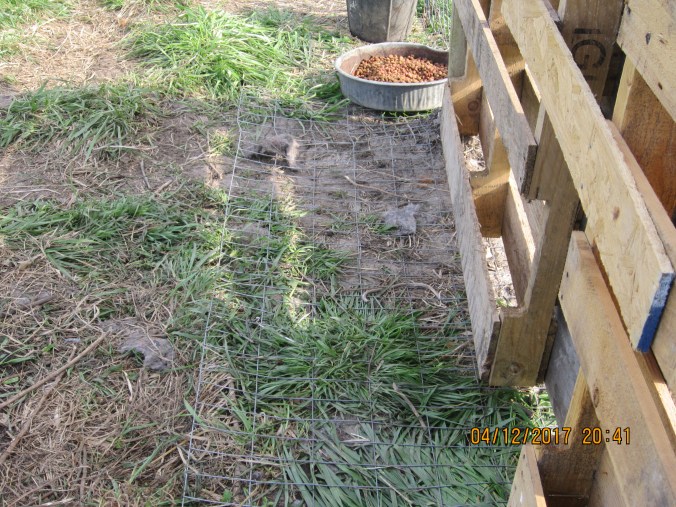
The infamous north fence. Note the fencing on the ground. Yes, it does appear to be working. No I do not need to lose weight, that is where I carry my lunch. Several of them.

IMG_1991

Kat helping me line up a pole.

IMG_1992

Me driving a pole with a 6 lb pole hammer. Possibly the greatest invention since fire.

Next, I ran fence wire on the ground ,along the line of the fence, sank steel post every five or so (got a bunch of those too),and strung the fence with the able assistance of Kat, the Chicken Girl. Once I had the fence up, Kat wired the fence on the ground and the standing fence together. I added two short poles on the outside which Kat also wired in. These were to make it difficult for the dogs to push out on the fence. Anyway, as I have mentioned, I have a bunch of poles, short and long.

IMG_2009

The inside of the gate. Note the wire, even Libby cannot dig through that.

Then I pulled out the much abused and busted northern line completely. I laid wire down in the same way I had on the eastern side, added some poles, and put a sixteen foot cattle panel at the north-west corner which Libby seemed to take particular joy in attacking. Let her try to chew through that. After that, we fenced the rest. Everyone was helping there, and the dogs, chained in front of the barn, were watching; wishing we would hurry up and finish.

The western and the southern lines were the most stable. Along the western line, I placed all the pallets I still had. On the southern line, I stretched wire on the inside and the ladies wired it in while I was putting together the gate, and mumbling under my breath. It was getting late, but I wanted them in the new yard.

We hung the gate, and brought over the dogs, who were overjoyed about being able to run in their new home. Libby, of course, was checking the fence line carefully.

What can I tell you that you that will save you trouble?

1. Make a reasonable dog run. One lady, who had multiple dogs, said her 60′ X 40′ foot backyard was fine for three very large dogs.

2. If they are dogs, they can dig. Sometimes they dig just for fun. So find some way to build a no dig zone around the inside of your fence at least two feet wide. Wire fence works well; chicken wire not so well. Also, and this is my next project with the dogs, build them some stuff to play on and with.

3. Give your dog plenty of credit for creativity. When you think you have it sealed, think again.

All during the re-fencing project, there was a place where the fence had been bent and broken about 10 inches wide along the bottom. A number of times I said to Connie, “We need to patch that and slap a pole in there. In the hurry to get the Dweeble Twins off the chain (I hate chaining a dog), we neglected this less than a linear foot of fence. I went out the next morning, and they were gone out of that one little hole.

It is sealed now, and my ego is healing.

Thank You

Ed

New Hens and Other Updates

Ed is feeling better and working to rebuild the dog pen. He hoped to finish today, but the weather has not cooperated. Cold and wet is not a good environment for someone barely over an upper respiratory infection, so he spent yesterday working inside. He worked some this morning, but then went to bed, because he has to work tonight. When we finish new pen, we’ll show you what we did.

Last week, I had the opportunity to purchase six grown Rhode Island Red hens from an acquaintance who had more than she needed. When the hens were delivered last weekend, we learned they hadn’t been handled much. Chicken Girl was going to have her job cut out for her.

When we first got them, we dumped them in the chicken tractor…literally. They came in a dog crate and the old owners upended the crate under the tractor, while we blocked the sides to prevent escapes. The funniest thing was that within five minutes of getting them in the tractor, Moony Rooster escaped his pen and came running to investigate the new girls.

IMG_1995

Moony Rooster

That evening, we decided we needed to put them in the big coop with the other chickens, because the tractor doesn’t have much in the way of shelter. That was an experience for Katherine. First, raising the tractor enough to grab a chicken that didn’t want to be grabbed. Then trying to hang onto it long enough to get it into the pen. Once she got them all in the pen, then she had to get them into the coop. Still, once she gets hold of them, they calm down quickly. She only got scratched once, and she considered that a win. Every day, it seems that they are easier for her to handle.

IMG_2000

Sunny Rooster and three of the new hens

IMG_1997

Katherine says this is Voca Hen. I’ll have to take her word for it.

The six new girls and the two old ones are having to work out their differences of course, but that was expected. Like she always has, Tundra Hen escapes several times a day. Then Moony Rooster follows her. Day before yesterday, during one of the many daily escapes, Katherine had a moment of panic when she realized Tundra was inside the dog pen. Then she remembered the dogs weren’t there. Later however, when when Ed was moving the dog house, an egg rolled out. Then I noticed the second egg inside the house. I guess Tundra was feeling a little crowded with her new coop mates. Coop improvements will be coming soon.

IMG_1982

See the egg?

IMG_1981

Close up


Have a great weekend,

Connie