Welcome to the homestead kitchen, where we specialize in cooking from scratch, and using real food. Today we’re going to talk about bread. There is nothing quite like the smell of baking bread to bring people from all parts of the house to the kitchen with anticipatory smiles on their faces. Ask me how I know.
I also know the idea of baking bread can be intimidating, but don’t let it scare you too much. We’re going to have some fun!
There are two basic types of bread: Quick Breads and Yeast Breads.
Quick breads use baking powder and/or baking soda as a leavening agent. Biscuits, pancakes, cornbread, and nut breads are examples of quick breads. Today, specifically, we’re going to talk about biscuits.
When I was twelve years old, I started visiting my dad and step mom in Georgia during the summer. My step mom, Dot, is a traditional southern cook, and her fried chicken and buttermilk biscuits are to die for. I watched her, in fascination, as she formed each biscuit by hand (without a biscuit cutter), leaving a pan of biscuits that looked like they came out of a machine, but tasted like they came out of heaven.
It was years before I actually tackled it myself, and no, mine don’t look like hers. None of my bread is “pretty”. It just isn’t. I must not hold my mouth right or something. It does however, taste good.
Baking powder biscuits just need a few things: flour, salt, baking powder and a liquid. If your liquid is butter milk, you will also need baking soda. Dot always used self rising flour, which has the leavening included, but I don’t. I use plain white flour, and sometimes, if it’s in the budget, I’ll use some whole wheat or spelt flour too.
So, let’s get started shall we?
First, we need flour. I’m using four cups of all purpose flour, to which I will add two teaspoons of salt, four teaspoons of baking powder and a half teaspoon of baking soda. I use a whisk to mix it all together.

Whisk the dry ingredients together
Then I add a cup of shortening. You can use whatever solid shortening you have on hand. Today I used what was left from some Crisco that I had for something else. Usually, I stay away from vegetable shortening because I don’t think it’s good for you, but I had it and I needed to use it up. Otherwise I would use butter or lard. I mix it in with a pastry blender until it looks like course crumbs .
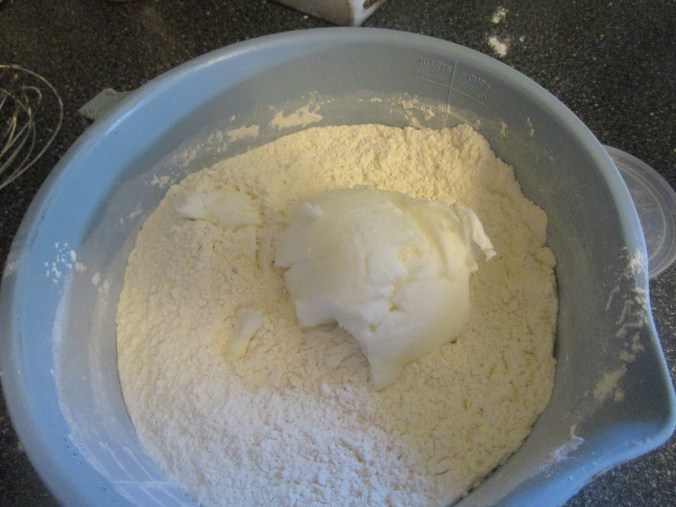
Adding the shortening
Next comes the buttermilk. The recipe would call for two cups, but it really depends on your flour, so I start with one and a half cups and add more if I need it. Mix well.

this was still a little dry so I added more buttermilk
Now, you need to put your dough out on a floured surface. I use newspapers, because it cuts down on the mess. I can just roll it up and throw it away when I’m finished. You can roll the dough out with a rolling pin or pat it out by hand. You can use a biscuit cutter and cut them out, or you can pinch off pieces and roll them between your hands. I do the latter.

my floured surface
Put your rolled pieces on a greased baking sheet, sides touching.
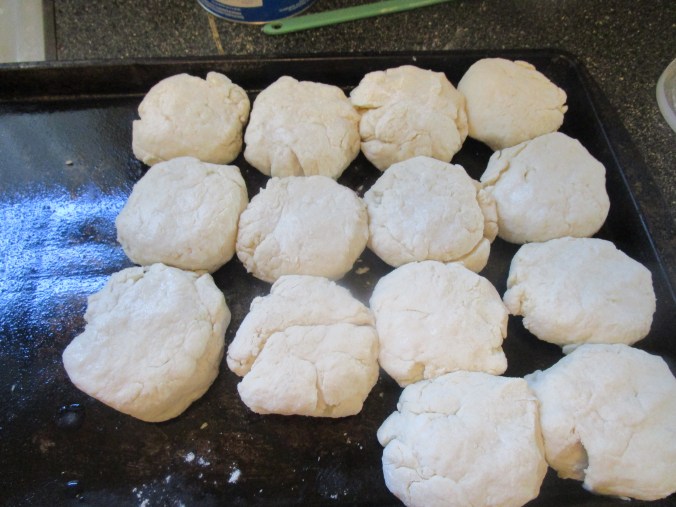
ready to go
Bake in a 400 degree oven for about 20 minutes or until brown on the top.
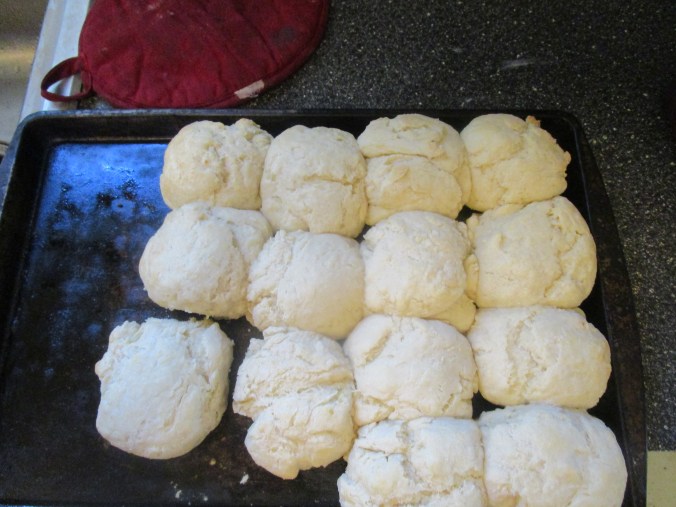
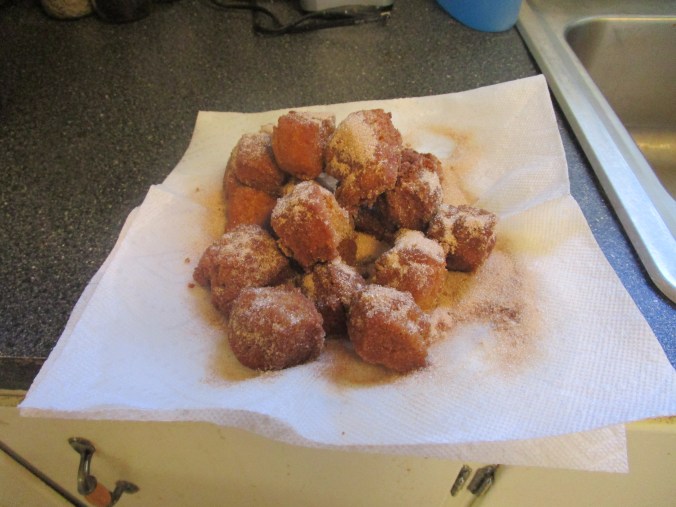
Ready to eat!
See, they aren’t pretty, but they sure were good! There were only two left after breakfast, and all four of us were home for breakfast.
Baking bread can seem like a daunting undertaking, but don’t let that put you off. Like many things, it just takes some practice. My great grandma Marie said of her bread making experience. “My neighbor asked me, ‘How’d your bread turn out Marie?’ I said, ‘right out there in that trash can!’” Grandma didn’t give up though and by the time I came along she was an experienced bread baker. When I was about 13, after what seems like months of begging, she finally agreed to teach me how to make the bread she only made for family get togethers at fourth of July, Thanksgiving and Christmas.
Yeast Breads use yeast as a leavening agent. The yeast can come from a package or from the air as it does with sourdough bread. I haven’t mastered sourdough bread yet, so we won’t cover that today. I’ll keep working on it though and I’ll share what I’ve learned with you when I do. I buy my yeast at the store. Since I make a lot of it, I buy it in jars instead of the little envelopes.
Yeast breads really only need yeast, flour and a liquid, but if you want it to have a nice texture and taste you need to add a few more things, like shortening and salt. You can add sugar and eggs too, depending on what kind of yeast bread you’re making. Yeast bread recipes can also be used to make rolls and cinnamon rolls.
The bread that I make on a weekly basis actually comes from the book “A Cabin Full of Food”, by Marie Beausoleil at Just Plain Living, so I’m not going to actually share a recipe for yeast bread, but I will show you the basics that apply to any type of yeast bread baking.
One thing I do that is different is that I use a bread bowl. I found this one in a flea market several years ago. It saves a lot of the mess of having that “floured surface” on your table or counter, because you can knead your bread right in the bowl.

Ok, the first thing you have to do is get your liquid hot enough to melt your shortening. If you’re using water, that means boil it. Liquid can be water, milk, potato water, and probably a few other things I haven’t thought of. Your shortening can be oil, butter, vegetable shortening, lard, and a combination of those things. Grandma’s bread used both butter and vegetable shortening. Like her, I only make that at the holidays.

This is a half stick of butter. I just wanted to give you an idea of the size of this bowl.

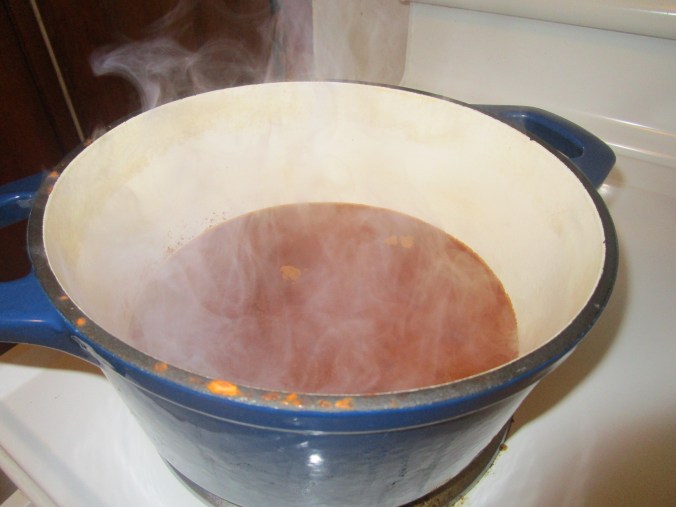
boiling water and butter
Then you have to let the liquid cool to luke warm. 105 degrees is what you’re looking for so you can add the yeast. You want the little yeasts to be cozy. Dried yeast is actually a dormant bacteria. When you put it in the warm water it wakes up. If the water is too cool, they take too long, and if it’s too hot, they die. So it has to be “just right”. It will feel just barely warm to the touch. Now at this stage, you can also add some sugar, or other natural sweetener. If you do, let it sit for about five minutes before you do anything else. That gives the yeast a chance to get good and awake, and start eating the sugar. You’ll know they’re working because your liquid will start to look bubbly.

bubble bubble
Now stir in your flour and any other ingredients. You want a sticky looking dough. This is called the sponge. You can let the dough rest for 30 minutes to an hour at this point.
Now comes the fun part. You want to put your dough out on a floured work surface, or add flour to your bread bowl.
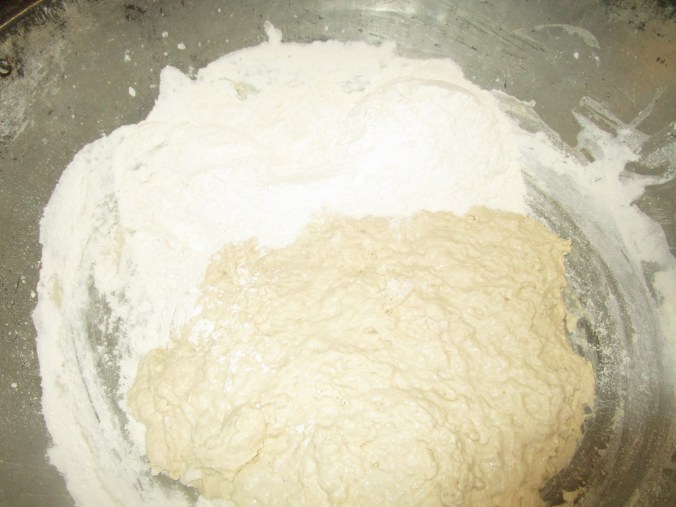
flour in the bowl with the sponge
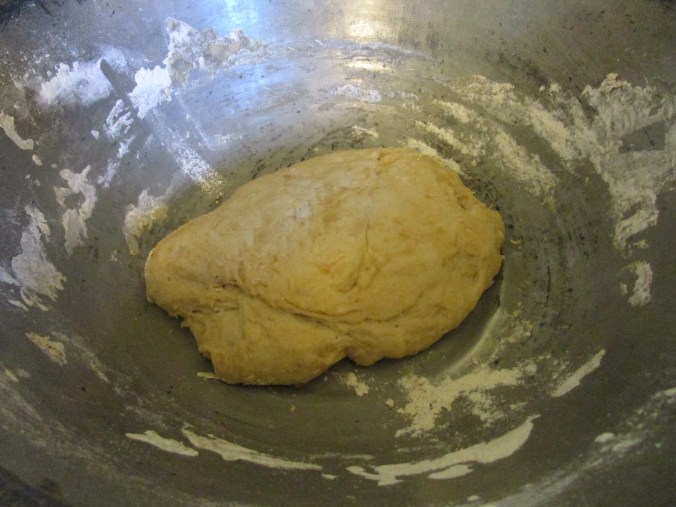
You want to work in enough flour to where the dough is smooth and elastic. You do this by pressing down on the dough, folding it over, and pressing down again. When it sticks to the work surface or your hands, you add more flour. Kneading like this can take anywhere between eight and fifteen minutes. You cannot over knead. Grandma always said you have to let the bread know who’s the boss!
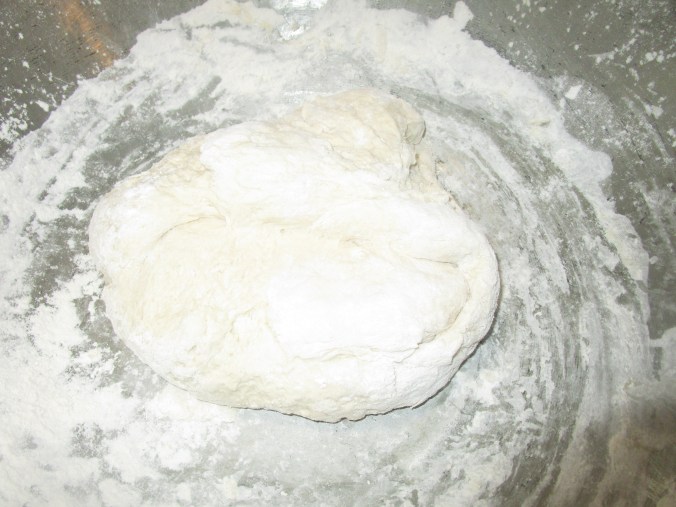
All kneaded
Some recipes may have you let the dough rise until double at this point, before you do anything else (like my grandma’s recipe) or it might have you form the bread into loaves and put it into greased pans before you let it rise. If you put it in pans you will only have one rising before you bake it.

Ready to Rise
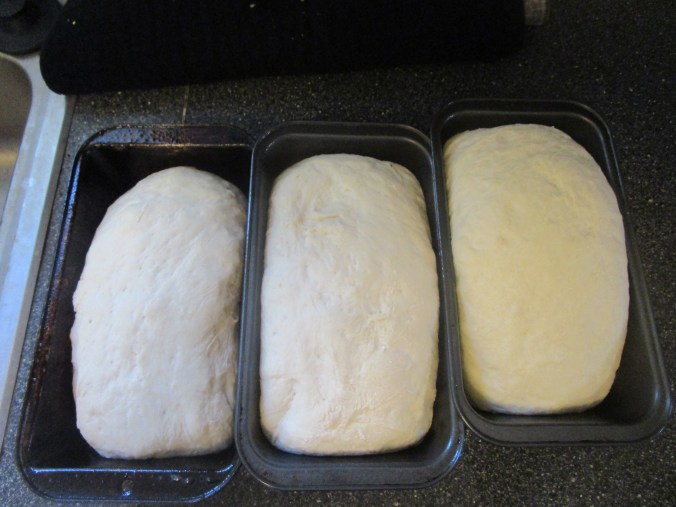
Ready to Bake
After the dough has risen, you bake it in a 350 degree oven for about 40 minutes or so, until the tops are golden brown and they sound hollow when you tap the bottoms.
I didn’t get a picture when they came out of the oven. This was taken later after the first loaf was already gone.
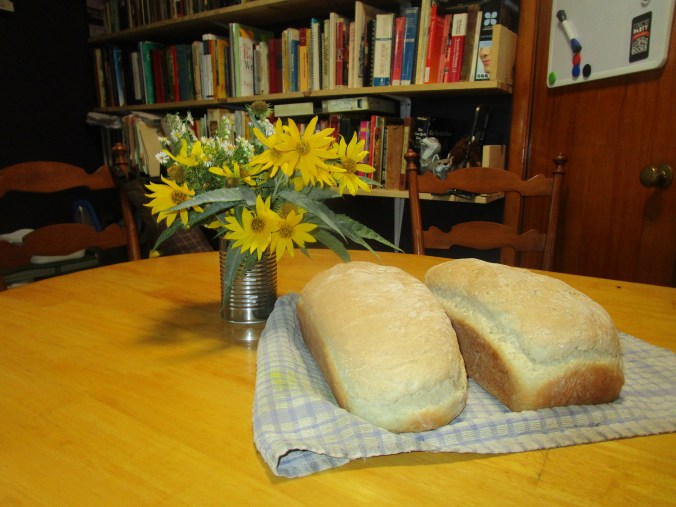
All baked.
Well, I hope I haven’t scared you off too badly, and I do hope you try your hand at baking bread.
Connie