You see them all the time. People building three story homes complete with in ground pool, billiard room, three car garage and tennis court that are built entirely out of pallets. You see the shelves, beds, fences, dining room tables, circular stairways and scale models of Old Ironsides all built with pallets and the question that is at the very head of most all slippery slopes comes niggling into your mind.
How hard could it be anyway?
Alexander, before he was the great, Cole Younger riding through North Field the first time, and Eve staring at the first Golden Delicious all ask themselves: how hard could it be anyway?
The question really was only a matter of idle curiosity until it met opportunity. The manager of the local Sprouts market offered me as many pallets as I cared to carry off. In two trips, I carried off a half dozen conventional pallets and one shelf like pallet that is now supporting Connie’s outdoor flowers that are wintering in our living room.
This is the shelf like pallet I found and, with no alteration, now sits in the Living Room for Connie’s flowers
I am still working on the cold frame and I decide I am going to disassemble a pallet to provide the wood I need for that. I have the pallets. I have a claw hammer and a nail puller, so what could go wrong? Find below the lessons learned from my first pallet disassembling:
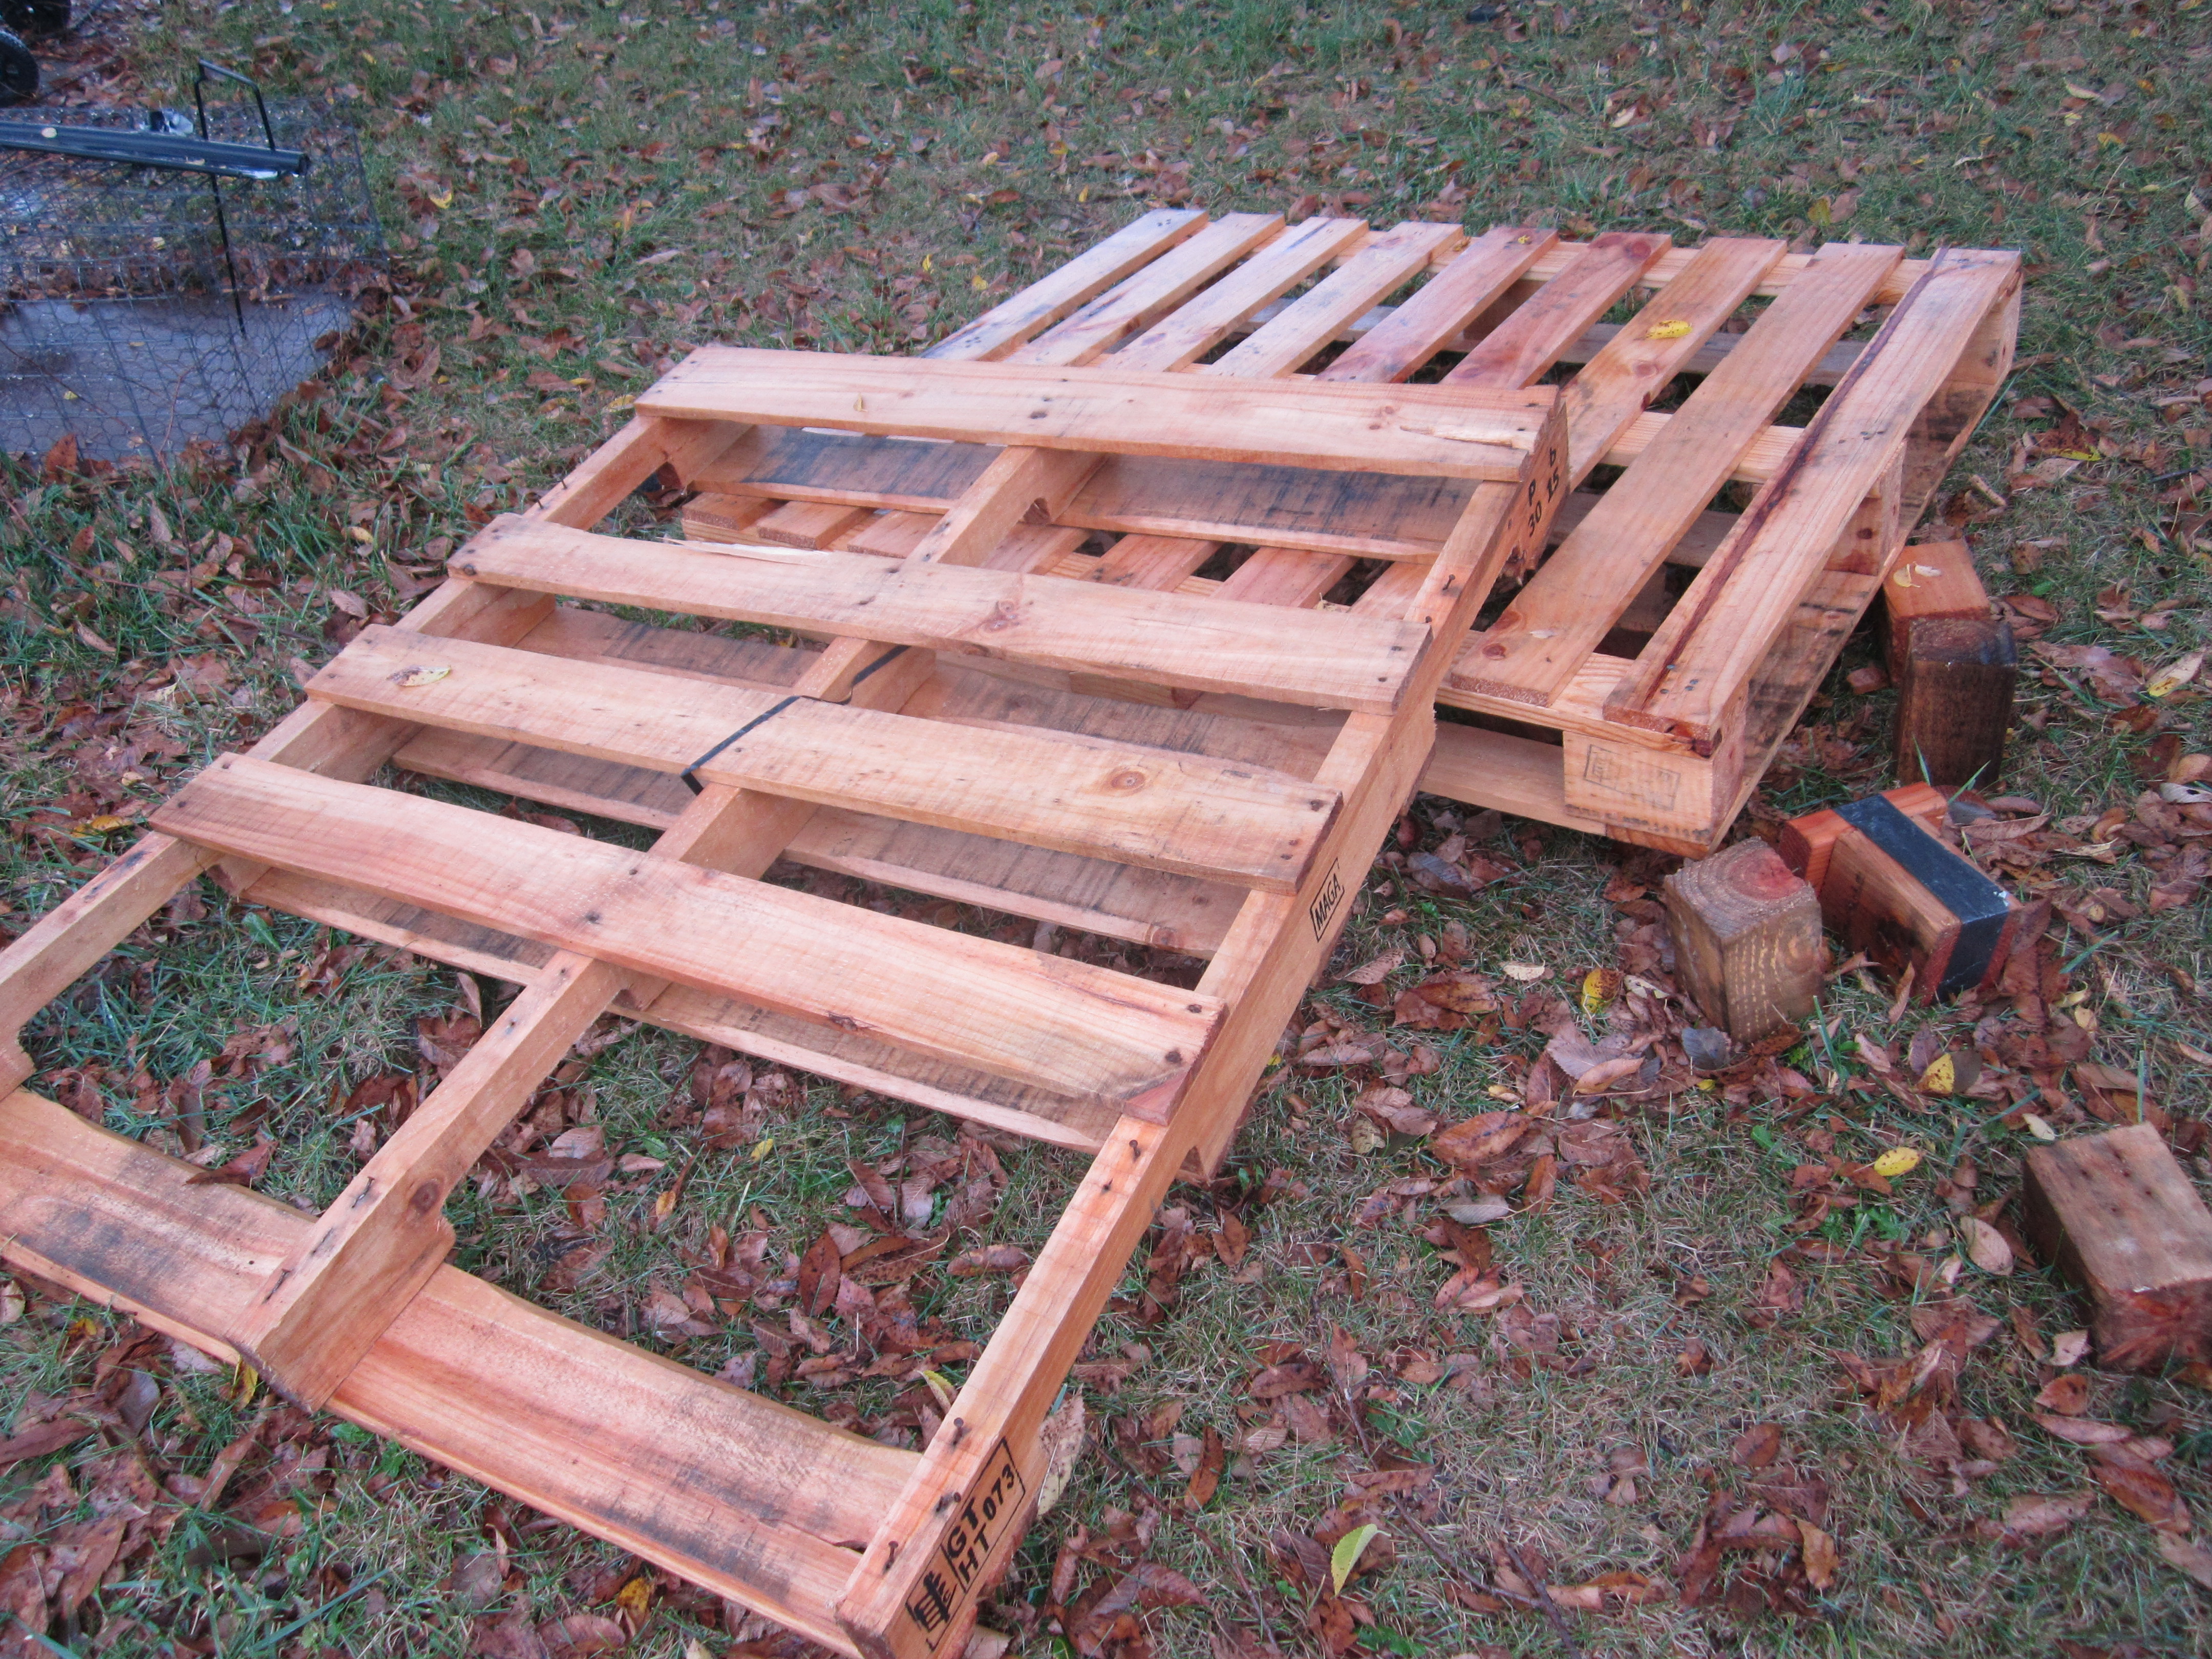
Pallets before

Pallets after
1. No, I did not impale myself on a nail, but I did decide after looking at the pallets themselves that anyone doing this might want to know the date of his or her last tetanus shot. Mine was two years ago, when I did step on a nail at the old house, and woke up some six hours later with an infected foot. Note: nurse friendly will ask you one time when you had your last tetanus shot. If you say you do not know, start pulling down your trousers: here it comes.
2. Pallets are made to carry heavy loads being lifted with a pallet jack or forklift. They are designed to take a lot of abuse. Pallets are generally assembled with nail guns by workers who do not scrimp on the nails. Some pallets only have real nails in three of the boards, one on each end and one in the middle. The rest of the boards are attached with staples. The good news is the stapled boards are easier to pull; the bad news is that the nail guy, feeling cheated, uses more and longer nails.
3. So I go to work on my first pallet. So as not to leave you in horrible suspense, I did get enough wood to do what I wanted to do on the cold frame. The rest of the story is that it was hard.
4. It took hours to pull the pallet apart; I broke and rendered useless almost half of the boards on the pallet. Okay, useless is an over statement. I burn wood in my den so they are not useless but you get my point.
Disassembling five more pallets that represented 20 to 25 man hours of labor to produce an equal number of usable boards and kindling, did not look like such a good idea. What did all these guys who built covered bridges with pallet lumber know that I did not?
Next, I bought a full sized pry bar at the local farm store and worked on the next pallet with it. The results were only marginally better, and my bad shoulder was fast catching up with my worse shoulder in the pain department. I needed to do something else.
While we are still sad that the Library at Alexandria was burned, we do have the modern equivalent at our disposal. Google led me to You Tube. If you need to perform a kitchen table heart transplant, You Tube has a video for it. On You Tube I found a number of videos on the subject of pallet disassembly. My method incorporated the theory seen in this one.
I did not use a brick or a concrete block because I did not have them. I did have a number of the 4 X 4 inch blocks used in building pallets (I had just taken two apart). I had a small piece of 2 X 4 inch wood that I could attach to the other block (God bless duct tape), and extend it to half a foot. Then I used another of the 4 X 4 blocks and my four pound hammer.

My basic pallet busting set-up. That and a pair of good durable work gloves.
I would set the 6 inch block under one of the boards near the place it is nailed or, better yet, stapled in, then I would put the other block on the board next to it to protect it from damage and I would hit that 4 inch block with my 4 pound hammer. After I had loosened that end, I would move to the middle and repeat the process. The last attached point was fairly easy to pry loose.

This is what happens when you do it right.

This is your set up. Note please, you will lose boards even doing this. Wood is soft, nails and hammers are hard.

When you are doing the center go to the far side of the center support so your force is against the nails not the board. It cost me another board to learn that, you get it for free.
Using this method I took two pallets apart in a little under an hour, saved more than ¾ of the wood and could walk and function when I was done. All told, a vast improvement.

another view of a good set up.
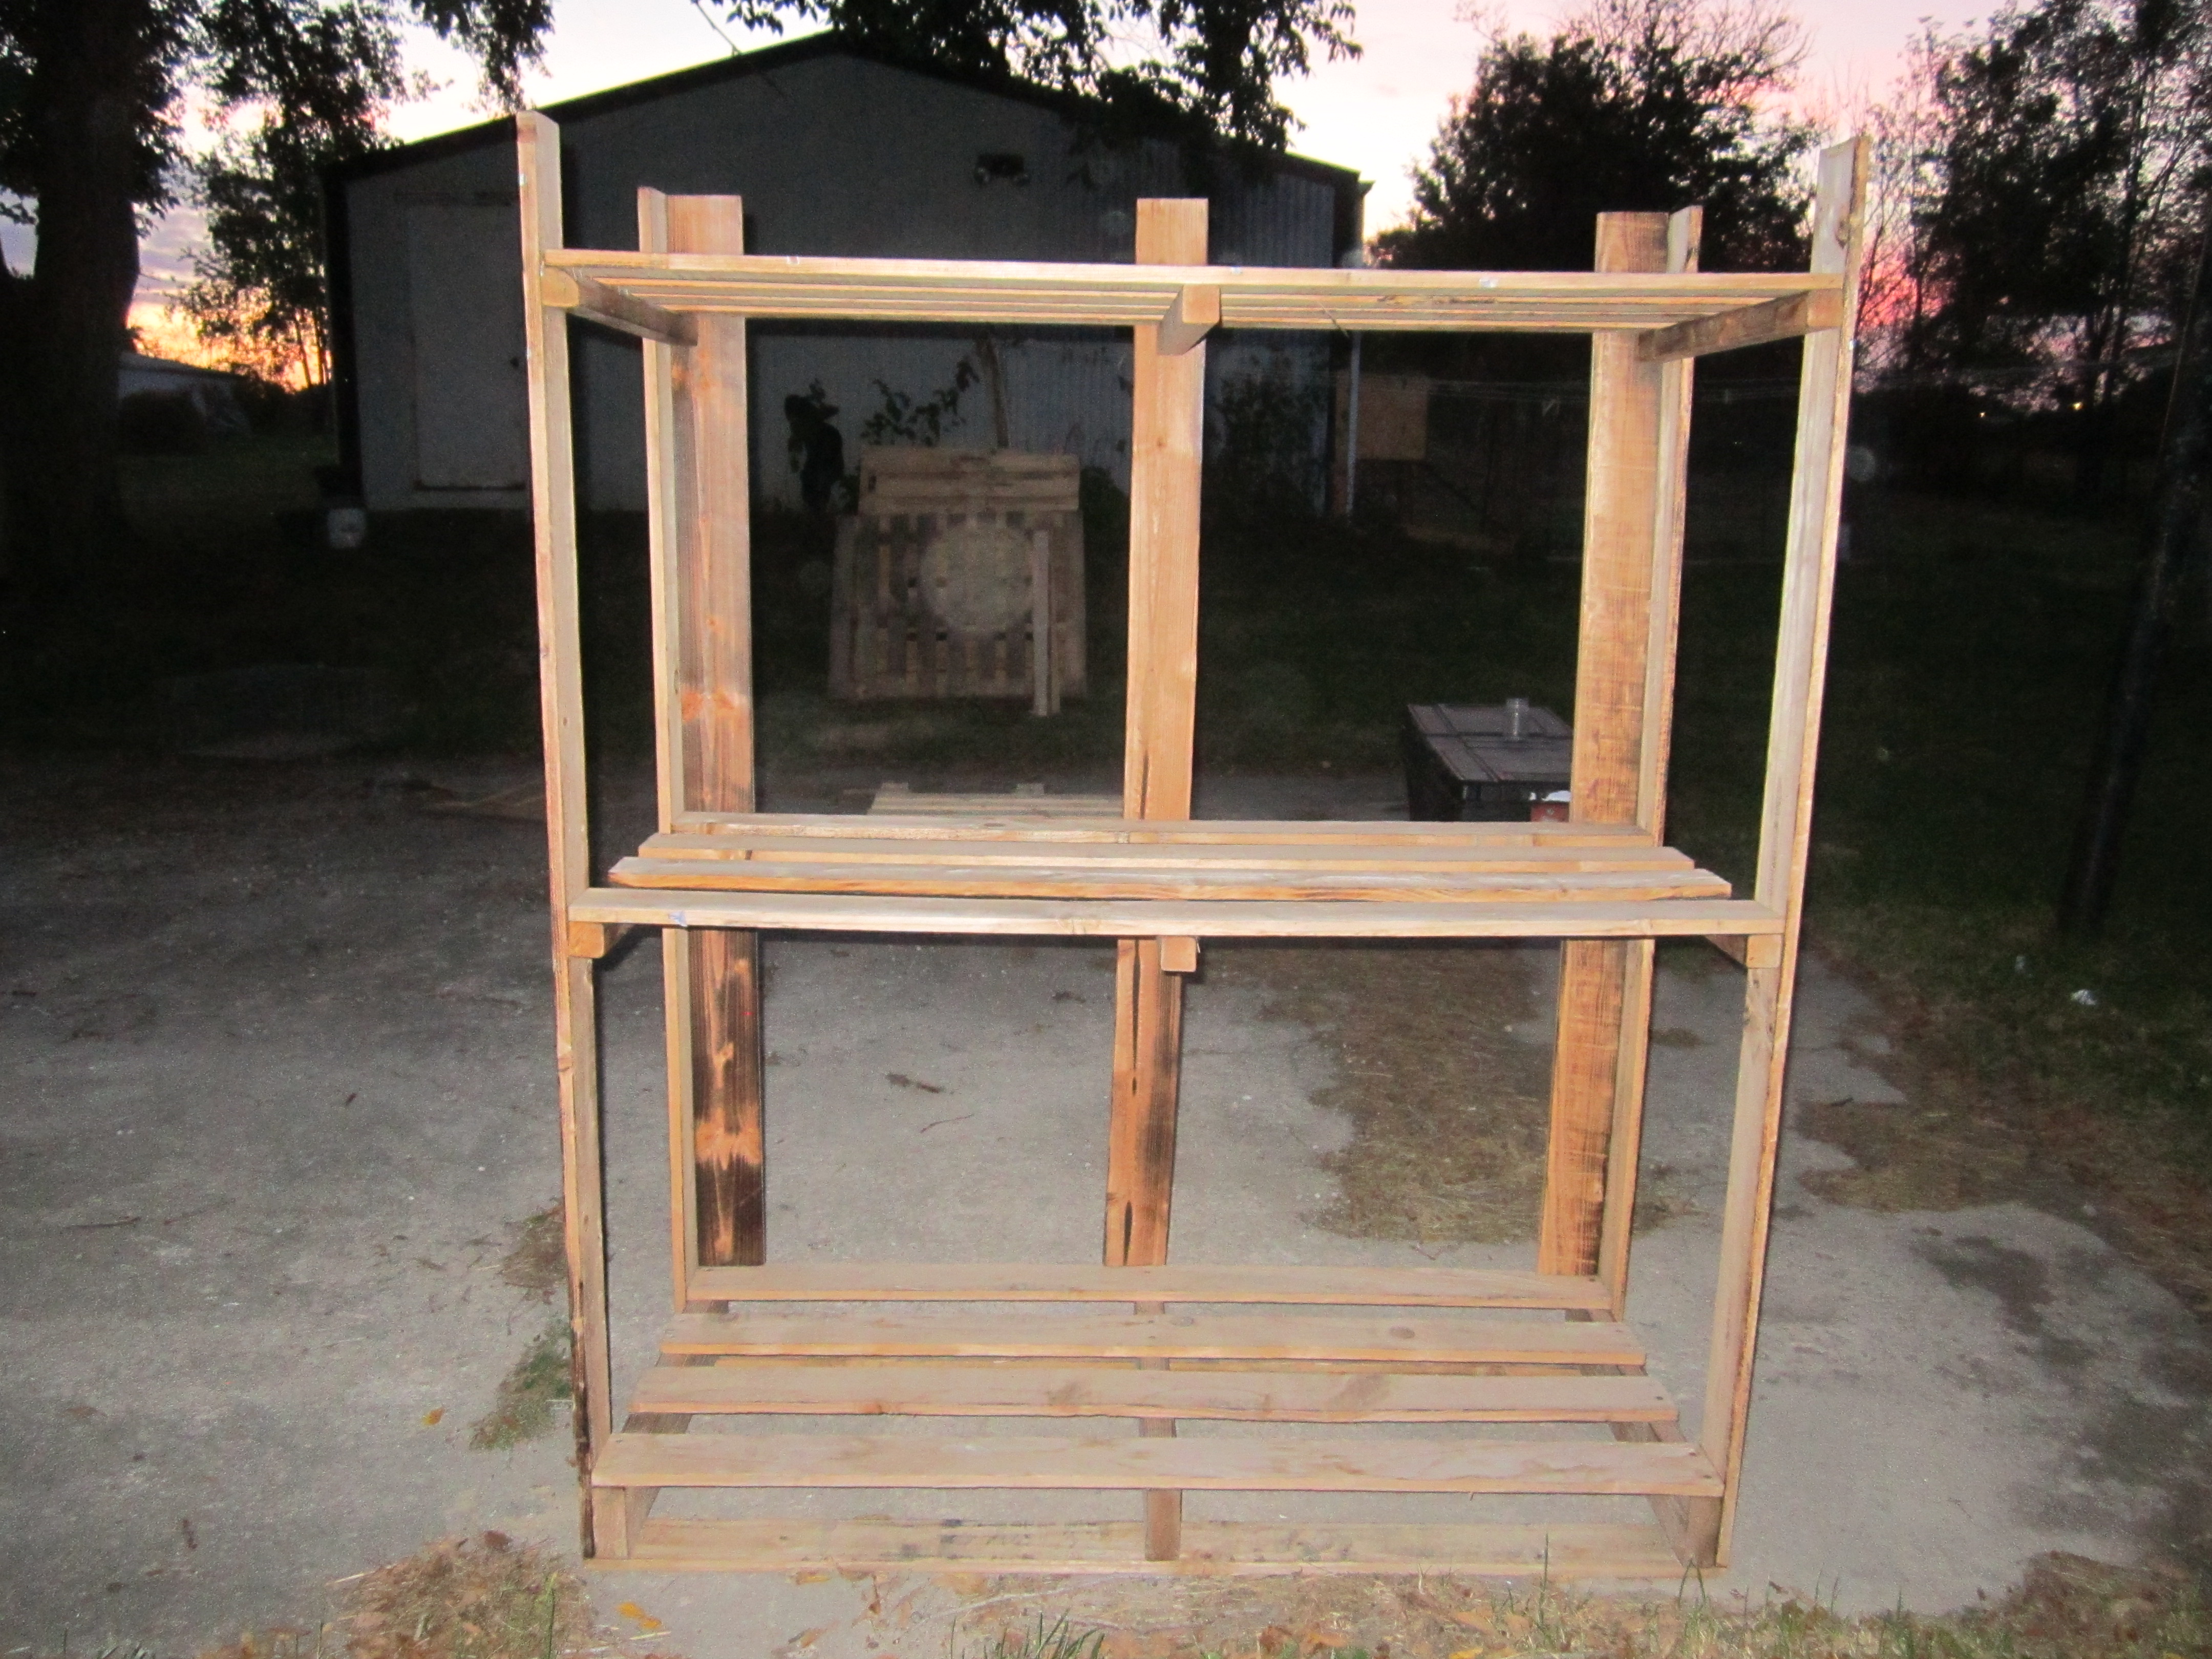
So now I am becoming a fairly adept pallet disassembler. The next trick is going to be actually building something out of pallets. Let’s see how that works out.
For those of you who noticed, yes it is raining in that picture and no, I am not that invested in pallet busting that I do it in the rain. Connie read this and said she would not understand without pictures. And I am always one for clarity.
May God Bless,
Ed

Pingback: Proper Pallet Preparation (I could not resist) | bookworlder